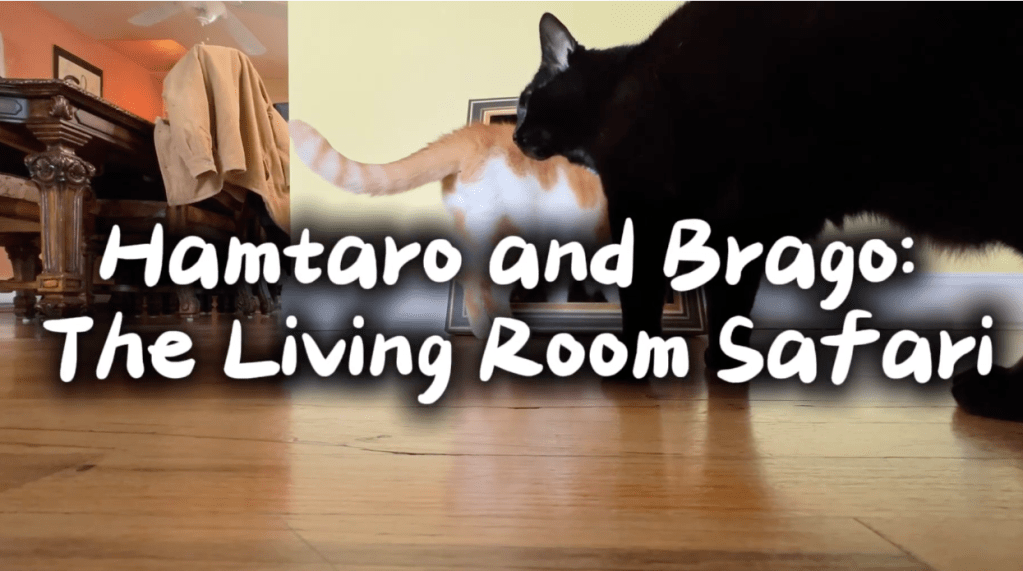
In this blog, I cover the production and post-production steps I took to developing my own video montage. For this video, I chose to focus in on telling a light-hearted story about my two cats: Hamtaro and Brago. While it is challenging task to film two subjects who don’t seem the least bit interested in cooperating for my video. I took this as a good opportunity to be flexible and let my creativity shine. But before I start filming, it’s important that I do some research into the best tips and tricks to production and editing.
Reading & Writing:
Chapter Ten – After the Shoot – Editing
In this chapter of The Bare Bones Camera Course for Film and Video, the author focuses on all things post-production. Editing is essentially where you have an open landscape to take all the pieces of film and put it all together into a cohesive story. Editing is also a process of rhythm and contrast. Each cut, transition, and asset should be intentional and contribute to the overall story. Editing also has a huge effect on a film’s pacing. The rate in which shots and sounds change is crucial in keeping the viewer’s attention and engaged. The chapter also goes into techniques such as L-cuts that can be useful in dialogue scenes and for linking documentary elements together.
Research:
I really enjoy this video created by Casey Neistat (and many of his other videos) because his editing style is extremely cohesive. I know by the end of the video I’ll know exactly why I clicked on the video. His style includes a lot of jump cuts which is relatively frowned upon in a traditional sense but in terms of social media it plays perfect in this quicker ecosystem. This particular video highlights the new Sora AI tool and the fears of it getting extremely accurate. His cuts are extremely quick (most shots only lasting a few seconds at most). There’s a transition I like at 1:03 where he uses a clip he fast forwarded to create an effect that matches with the audio cue “slop”. I think Casey chooses to edit this way to make the entire video more creator-based and less intimidating.
This music video by the kpop boy group CORTIS is very entertaining. When editing a music video, making sure the cuts and pacing of the edits correlate with the music is extremely important. There’s a lot of interesting transitions they use like custom wipes with VFX assets they have designed. I particularly like this transition they used at 0:19 where a member is dancing and then the shot turns into a spinning ring. When the ring spins another time, the time of day turns to night.
The video includes a relatively common but effective pacing theme. When the narration is completed, AntsCanada uses the story that he tells to lead the visuals he takes. My theory is that he films a bunch of b-roll of the various animals in his terrariums and then finds the most exciting elements to tell the best story. The editor uses a lot of simple cuts and slow zooms since there is a lot of content to explain such as the scientific namings of the animals and different habits that the average person wouldn’t know.
Create:
Filming my montage
To get started on this video, I felt it was easiest to have my planning document printed out and laid out physically in front of me. Then, I got all of my tools such as my tripod setup, camera on, and setup for my first shot. Over the course of the session, I did find it difficult to get the shots I storyboarded for due to my subject (my cats) not being good at following directions.
So to combat that, I shifted the story of my video from being about the cat scratcher to more of a “nature” documentary which observed the behaviors of my cats. Another issue I had come across was getting the proper lighting. The cat scratcher was originally located in the basement but I moved it to the living room temporarily to get some better lighting, specifically using natural light. During the production, I made sure to capture several visual composition guidelines and push my creativity to the max. I made sure to use various mm lengths and shots such as Wide shots to establish the location and Extreme Close Ups to capture details. After comparing the steady shots versus shaky shots I’ve taken in the past, the comparison is substantial!
Editing the Montage
As I started to import all of the project files into Premiere Pro, I found the editing process to come easily for me. It was entertaining to combine clips together, find music that fit well with the shots, as well as put together a fully-composed story within this short timespan. My favorite part to the editing process was adding all of the supplemental elements such as motion graphics, sound effects, and filters. As the week concludes, I know there will always be more edits to be made. But, there must come a point in time where we must be happy with our edit.
Leave a comment